Using Feedburner with Your Blog
Feedburner is a feed processing service that you can use to optimize, monetize, and get subscriber tracking for your blog feed. You basically setup a feedburner account and create a feedburner feed that consumes your blog feed and it produces an out put feed that has a feedburner url. mojoPortal will redirect the blog feed to the feedburner feed url so that the feedburner url can be used instead of the original feed, yet users can stay subscribed to your original blog feed so you don't lose subscribers if you ever decide to not use feedburner.
Step 1 Get a Feedburner Account
Get a feedburner account from google.
Step 2 Configure your Feedburner feed to consume the blog feed
You can right click the feed icon in your blog to copy the feed url, which you then paste into feedburner.
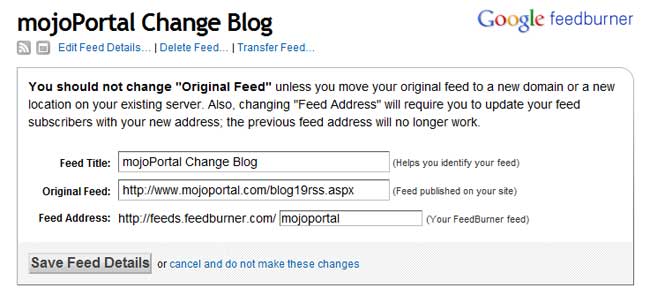
Step 3 Make Feedburner use your original feed url for subscribers
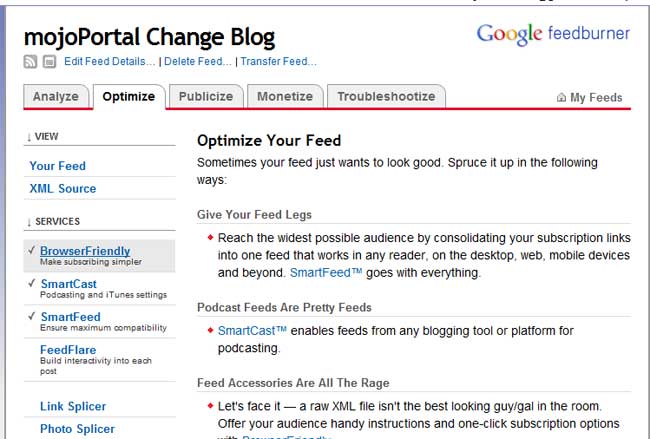
Click the Browser Friendly link to get to the browser friendly settings.
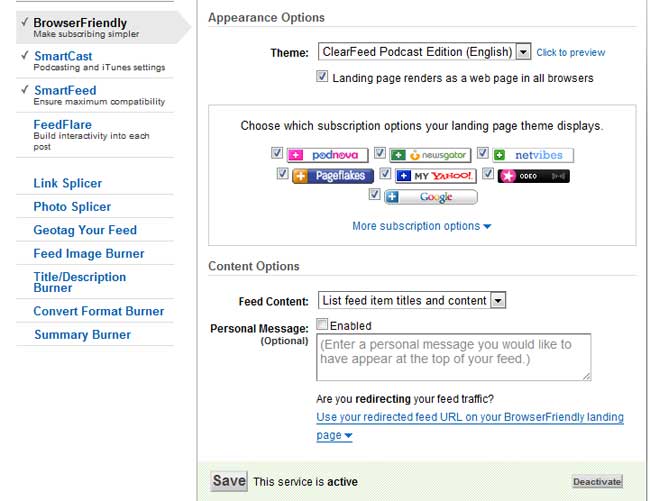
Next you'll see a link near the bottom of the center section that says "User your redirected feed url on your browser friendly landing page", click this link and it will reveal a textbox where you can enter your blog feed url again.
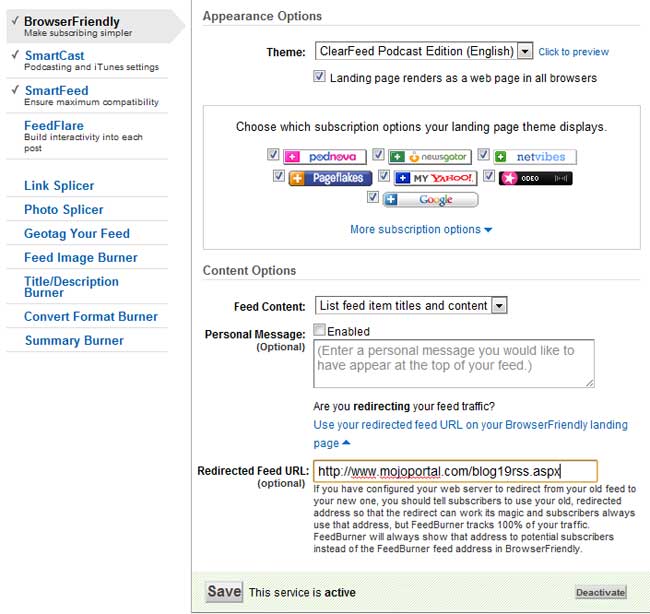
Step 4 Enter your feedburner url into the feed settings for your blog
Click the "Settings" link next to the title of your blog, then click the section for feed settings and enter your Feedburner url in the correct location.
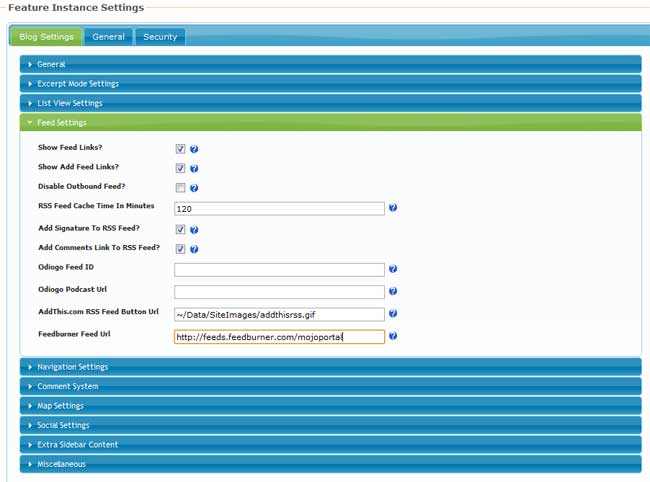
Thats it, now mojoPortal CMS will redirect your blog feed to the feedburner url, yet users will still subscribe to your original blog feed so you are not going to lose subscribers if you ever decide to stop using feedburner. Note that mojoPortal does know how to detect when the feedburner crawler requests the original feed so it does not redirect when feedburner is collecting the feed data, but it does redirect all other requests for the feed.